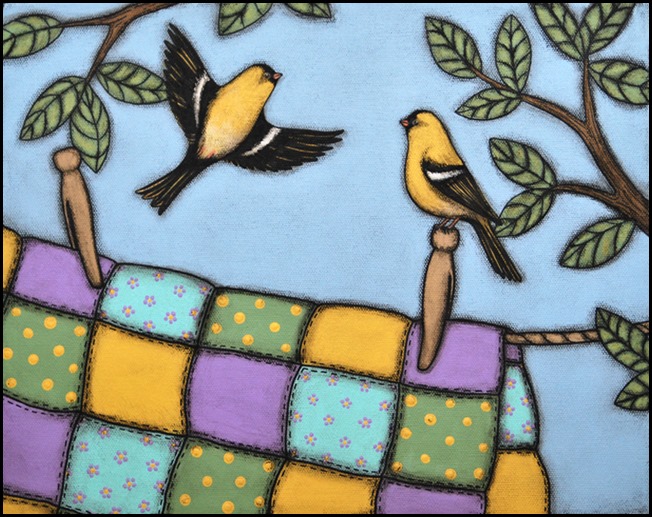
These are the supplies that you will need…
1. A painting canvas of any size
2. Spray fixative
3. Acrylic paint (tube or craft)
4. A tube of black watercolor paint
5. A kitchen sponge
6. A permanent marker (make sure it is permanent – Sharpies work good)
7. A few different sizes of paint brushes
8. Water
8. Paper towels
To start off, you will want to draw an image onto the canvas. Starting with something simple (like a flower or piece of fruit) is a good idea until you get the hang of it. This technique works better with designs that don’t have a lot of detail.
Next, you will paint your design with the acrylic colors of your choice. Bright colors work well with this painting style.
After you are done blocking in the color, take your permanent marker and outline everything. I’m sorry that I don’t have any photos of these stages…I didn’t think about doing a tutorial for this project until it was too late for them.
At this stage you will want to spray a light coat of fixative on the canvas.
Here is my painting at this stage…
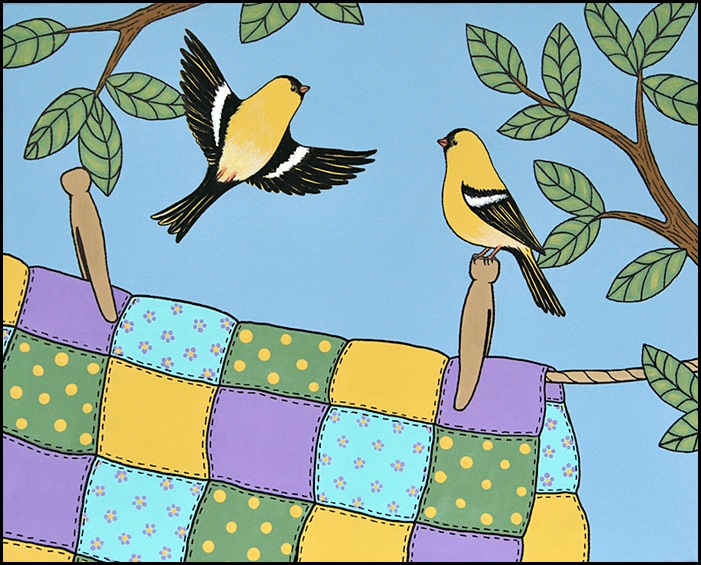
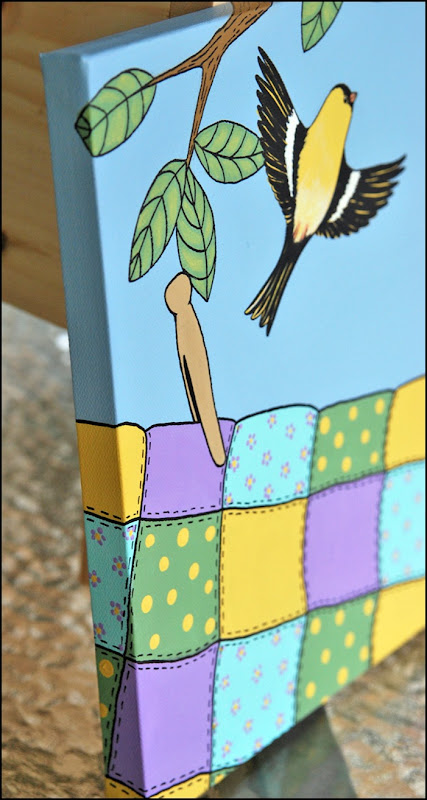
I also like to have the image wrap around the corner of the canvas.
Here comes the scary part. Take your kitchen sponge and get it wet. Wring out as much water from it as you can so it is damp. Now take the black watercolor paint (do not use acrylic paint for this step), and squeeze some out onto the damp sponge…
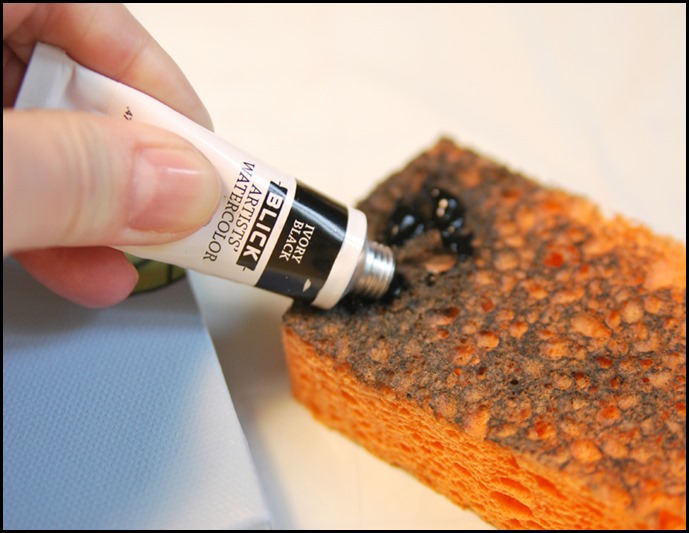
Now take a brush and spread it around on the sponge…
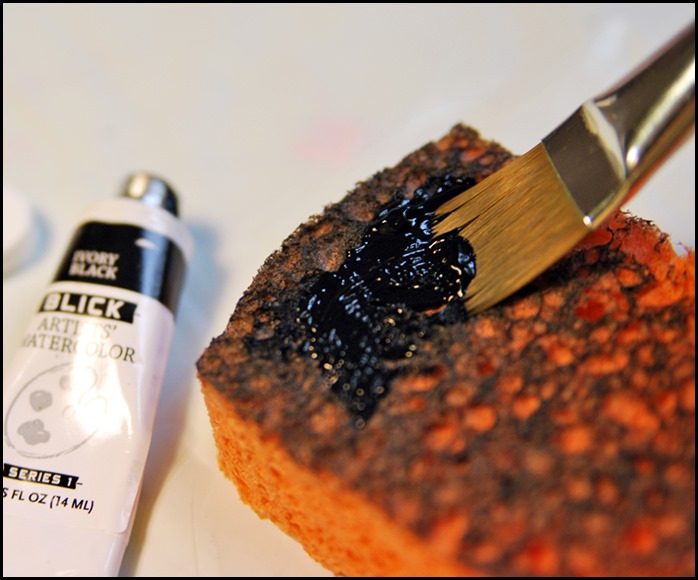
Using a circular motion, take the sponge and start spreading the black paint onto the canvas. Evenly cover the entire canvas. If the paint is going on drippy and thin, the sponge is too wet. If you are having a difficult time spreading the paint, your sponge is too dry. It may take some trial and error before you get it just right. Don’t worry about ruining your painting at this stage…the watercolor paint can be completely removed and the acrylic paint will remain permanent.
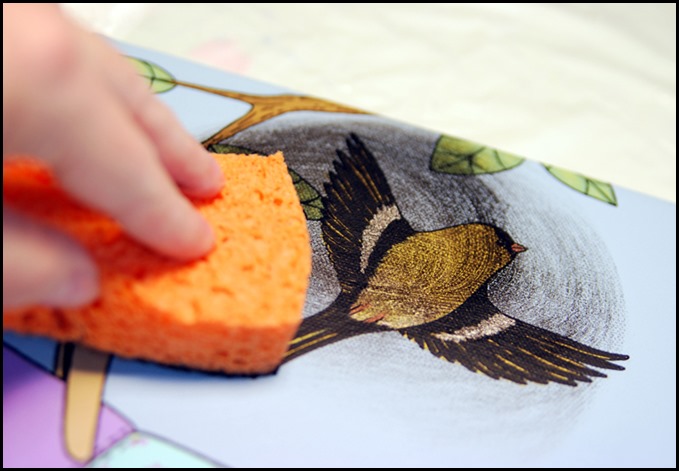
This is what it should look like at this stage (not very pretty)…
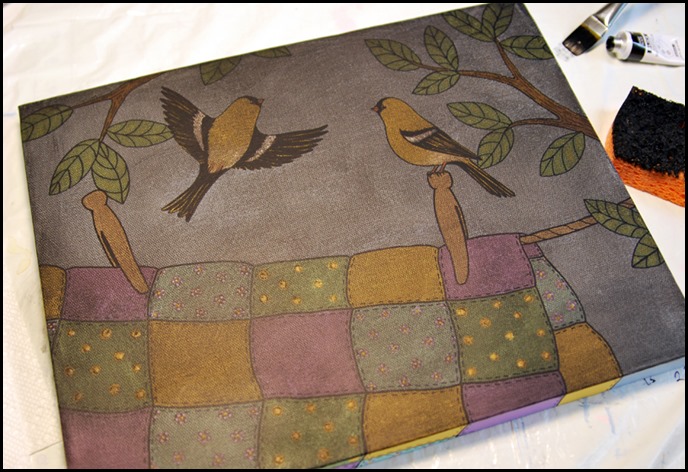
Let the paint dry (it only takes a few minutes). Once it is dry, you don’t have to worry about leaving the watercolor paint on for any length of time before it gets removed…it doesn’t adhere to the canvas permanently like the acrylic does.
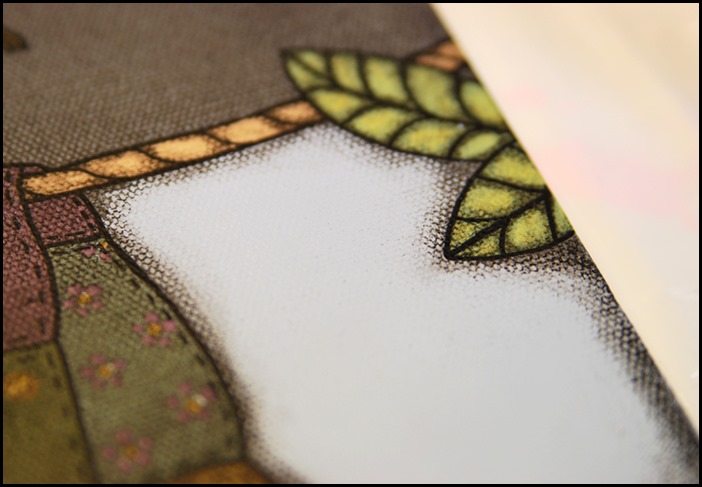
Now the fun part. Take an appropriately sized paint brush, and wet it. Then start to wet one section of the painting at a time, and dab the paint off with a paper towel. Make sure that you leave some of the black paint around the edges and shadowed areas.
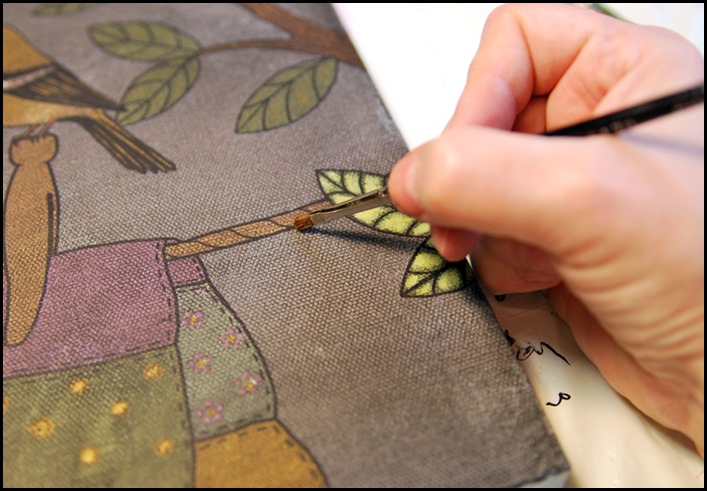
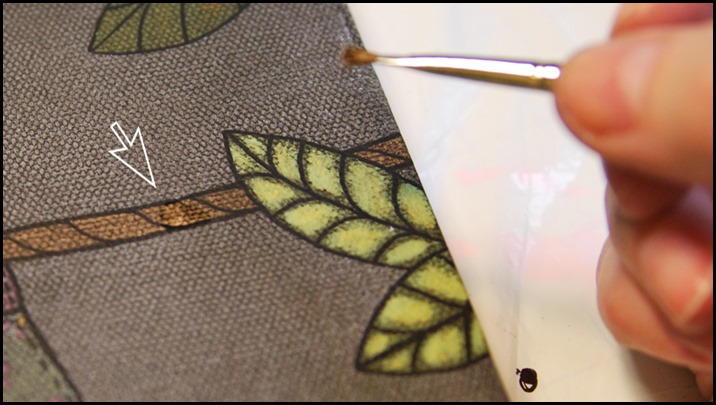
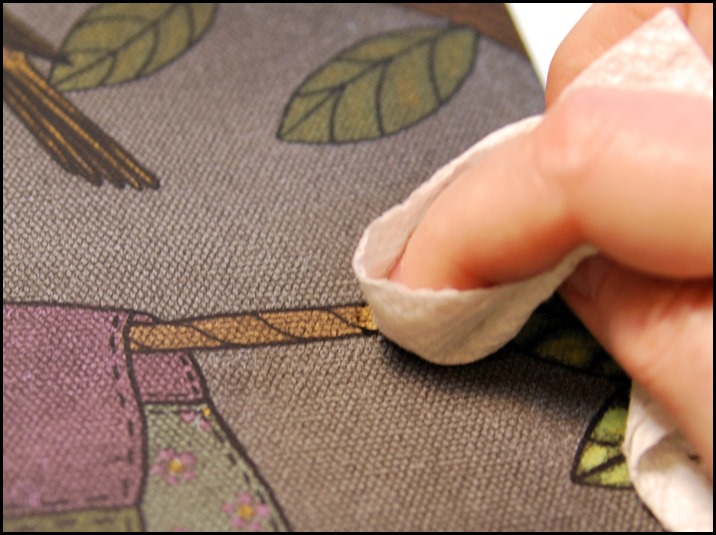
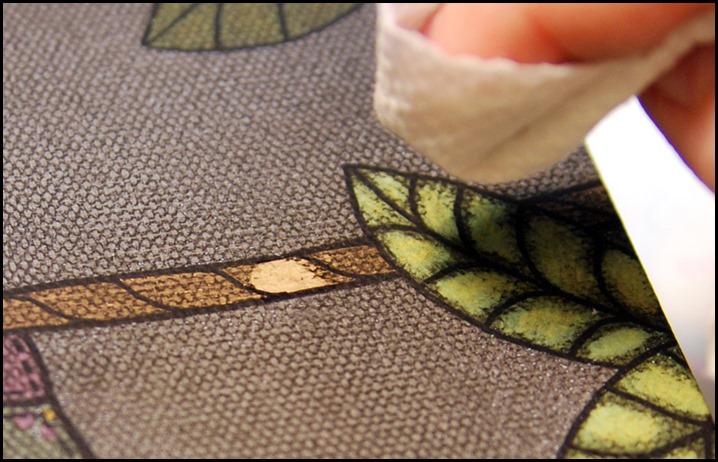
Continue to do this in all of the smaller areas. For real tiny areas you can use a dampened q-tip. For larger areas you can lightly dampen a paper towel and wipe the paint directly off without first wetting the area. You will go through a lot of paper towels.
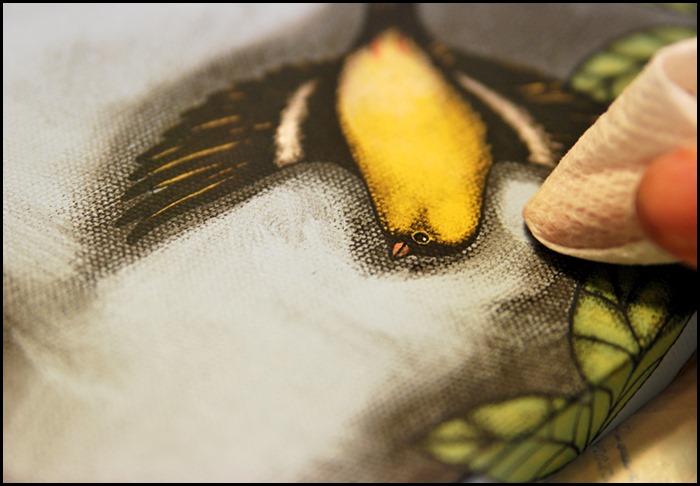

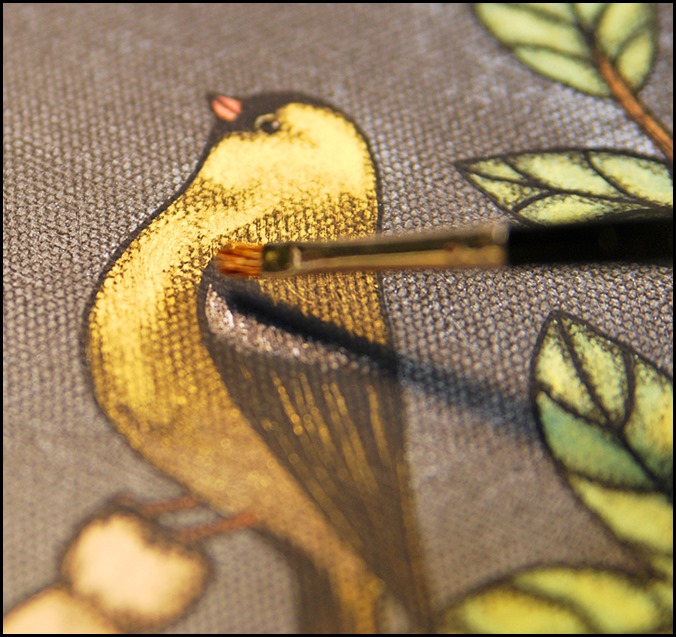
Isn’t it fun to see the painting start to come to life? This is what it should look like when you finish an area. If it doesn’t look just like this, don’t worry…that’s what makes this technique fun – the imperfect, rough “dirty” look is what you are going for. And if you feel like you really messed up, you can just wipe it off, reapply the black, and start over. It’s a very forgiving painting style!
Notice on the birds and clothespins that I leave paint in the shadowed areas too (like around the birds eye and neck).
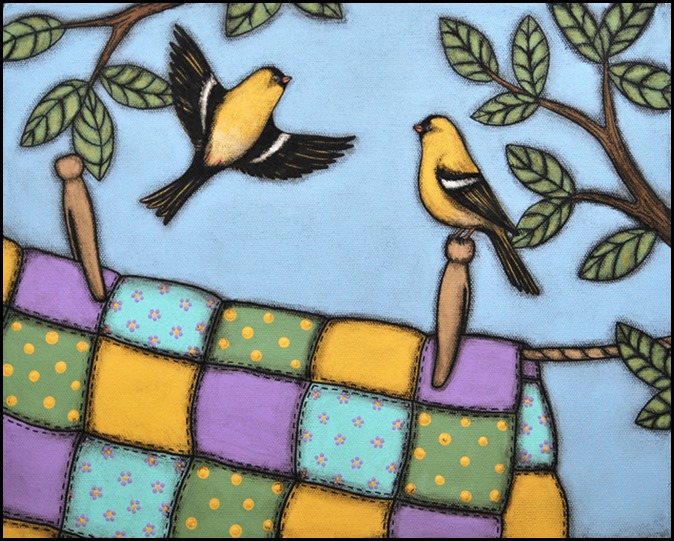
When you get your painting to where it looks good, you will want to seal it with another light spray of fixative. Here is the finished painting…
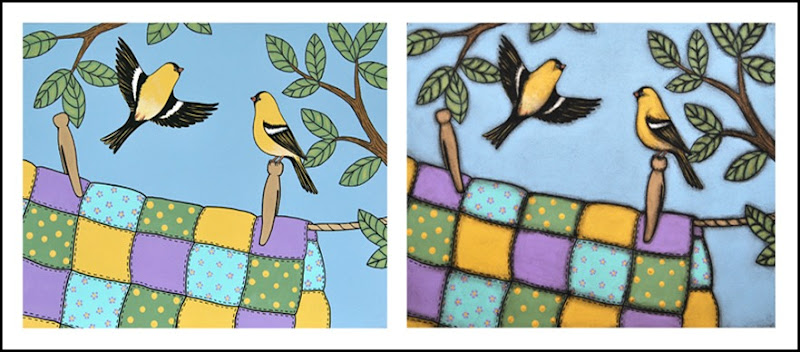
Here is a before and after of the painting…
This is another one I did using this technique...
I hope you liked this tutorial. If you have any questions, please let me know. And if you decide to try it, I would love to see your work of art!
Until tomorrow…
Jesus said…“A pure eye lets sunshine into your soul”. Matthew 6:22
Blessings,
Jane <><


Very interesting technique. I read your "about me" page ...I'm a lover of Jesus and a crafter,artist myself. Appreciate your sharing this technique. Blessings to you, T
ReplyDeleteLoved the tutorial. Thanks for sharing. Stay strong in the Faith. God Bless.
ReplyDeleteThank you Patricia! God bless you.
ReplyDelete